Introduction to the DNS Server Not Responding Error
The DNS (Domain Name System) is responsible for translating domain names into IP addresses, allowing your computer to connect to websites and services on the internet. However, there are instances when you may encounter the “DNS server not responding” error in Windows 10. This error indicates a problem with your DNS configuration, preventing your computer from resolving domain names. In this article, we will explore various troubleshooting steps to fix the DNS server not responding error and restore your internet connectivity.
Understanding DNS and DNS Server Not Responding Error

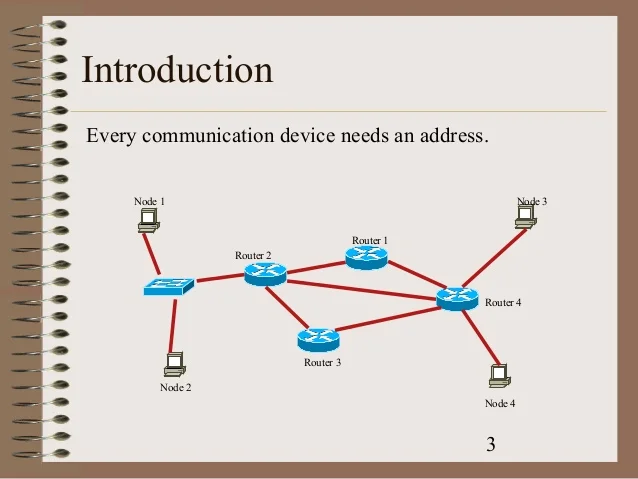
What is DNS?
The Domain Name System (DNS) is a hierarchical system that translates domain names (such as www.example.com) into IP addresses (such as 192.168.0.1). DNS enables your computer to locate and connect to websites and services on the internet using human-readable domain names.
Causes of the DNS Server Not Responding Error
The DNS server not responding error can occur due to various reasons, including:
- Misconfigured DNS Settings: Incorrect DNS settings on your computer can prevent it from communicating with DNS servers effectively.
- Issues with DNS Server: Problems with the DNS server you are using, such as server downtime or misconfiguration, can lead to the error.
- Network Connectivity Issues: Network connectivity problems, such as faulty cables, router issues, or incorrect IP configuration, can affect DNS functionality.
Troubleshooting Steps to Fix DNS Server Not Responding Error

Step 1: Restart Your Router and Computer
Begin troubleshooting by restarting your router and computer. Sometimes, temporary network glitches or issues with the router can cause the DNS server not responding error. Restarting these devices can help resolve such issues.
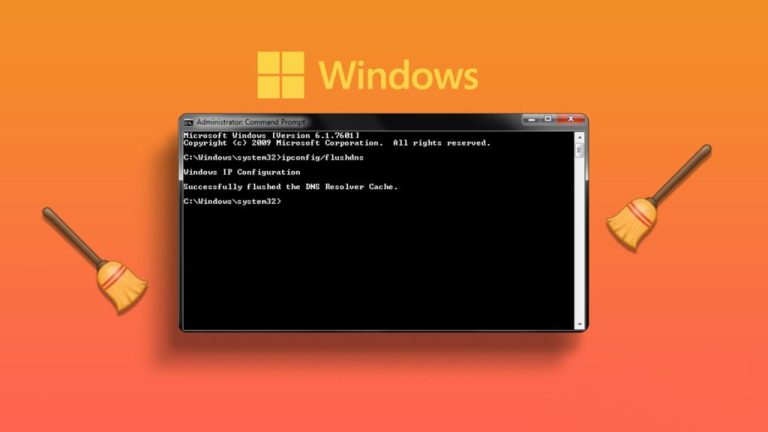
Step 2: Flush DNS Cache
The DNS cache on your computer may contain outdated or incorrect information, leading to the DNS server not responding error. Flushing the DNS cache can help refresh the cache and resolve the issue. Follow these steps to flush the DNS cache:
- Open the Command Prompt as an administrator.
- Type the following command and press Enter:bashCopy code
ipconfig /flushdnsThis command flushes the DNS resolver cache on your computer.
Step 3: Change DNS Servers
By default, your computer uses the DNS servers provided by your internet service provider (ISP). However, these servers may encounter issues or have limited performance. Changing your DNS servers to reliable alternatives like Google DNS or OpenDNS can help resolve the DNS server not responding error. Here’s how you can change the DNS servers in Windows 10:
- Open the Network Connections settings on your computer.
- Locate your active network connection and right-click on it. Select “Properties” from the context menu.
- In the Properties window, scroll down and select “Internet Protocol Version 4 (TCP/IPv4)”. Click on the “Properties” button.
- In the next window, select the option to “Use the following DNS server addresses” and enter the desired DNS server addresses (e.g., 8.8.8.8 and 8.8.4.4 for Google DNS).
- Click “OK” to save the changes.
Step 4: Disable Proxy Settings
If you are using proxy settings on your computer, they might interfere with the DNS resolution process and cause the DNS server not responding error. Disabling the proxy settings can help troubleshoot the issue. Here’s how to disable proxy settings in Windows 10:
- Open the Network

Hi all, my name is Angelika and I am one of the authors of the EasyTechh website. Like the rest of our team I am incredibly ambitious and I love helping people.
That’s why I write here and not only here 😉 I write interesting and useful for people articles in the IT sphere and a little bit about life.
Enjoy reading.


+ There are no comments
Add yours