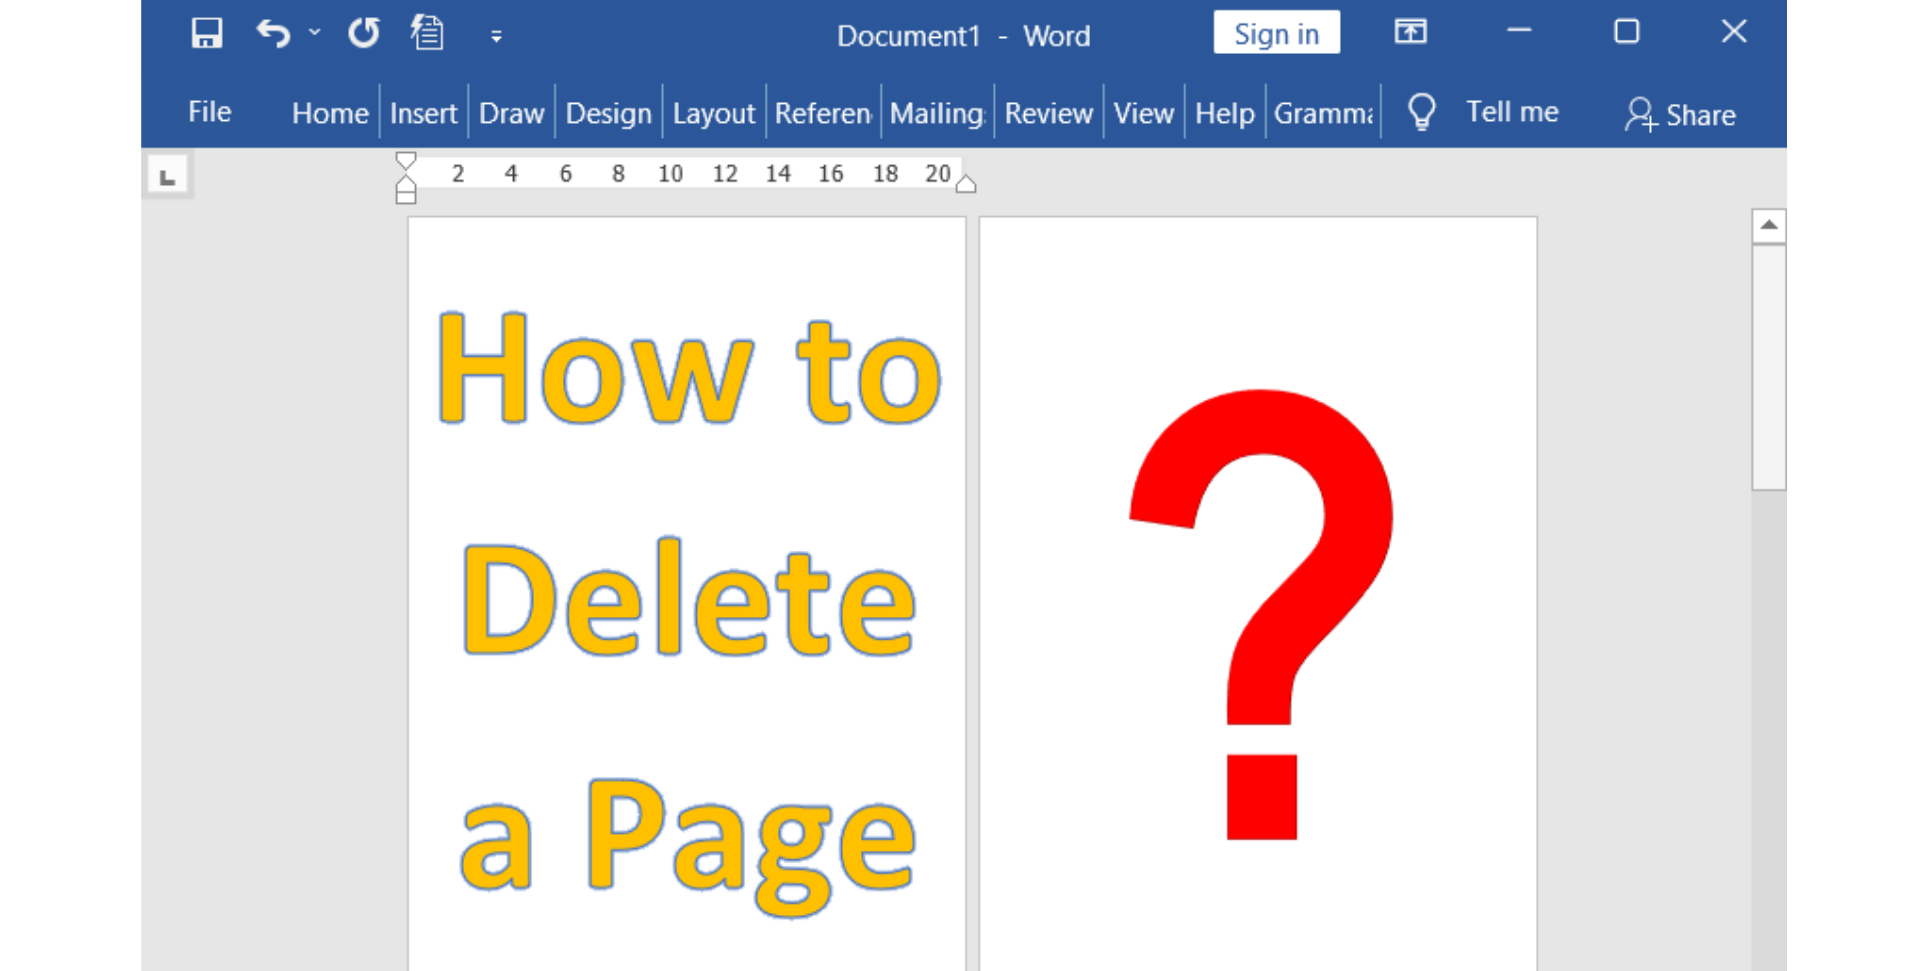
Introduction to Deleting Pages in Word
Microsoft Word is a powerful word processing tool that allows you to create and edit documents with ease. However, at times, you may encounter blank or extra pages in your document that need to be removed. In this article, we will explore various techniques to delete unwanted pages in Word, ensuring a clean and polished document.

Deleting a Blank Page
Deleting a blank page in Word may seem like a simple task, but it can be tricky if you’re unaware of the underlying causes. Here are a few methods to remove blank pages:
- Manual Deletion:
- Place your cursor at the end of the content on the previous page.
- Press the “Backspace” or “Delete” key until the cursor reaches the unwanted blank page.
- Keep deleting until the blank page disappears.
- Non-Printable Characters:
- Enable the display of non-printable characters by clicking on the “¶” symbol in the “Paragraph” section of the “Home” tab.
- Locate any non-printable characters (e.g., extra spaces or paragraph marks) on the blank page.
- Delete the non-printable characters, and the blank page should disappear.
- Adjust Page Margins:
- Select the blank page by clicking on the edge of the page.
- Open the “Layout” tab, click on “Margins,” and select “Custom Margins.”
- In the “Page Setup” dialog box, adjust the top and bottom margins to a smaller value.
- Click “OK” to save the changes and remove the blank page.

Deleting an Extra Page with Content
Deleting a page with content can be more challenging, especially if the content flows dynamically. Here are a few techniques to remove an extra page with content:
- Adjust Paragraph Formatting:
- Place your cursor at the end of the content on the previous page.
- Open the “Paragraph” dialog box by right-clicking on the selected paragraph and choosing “Paragraph” from the context menu.
- In the “Line and Page Breaks” tab, ensure that the “Page break before” option is unchecked.
- Click “OK” to save the changes and remove the extra page.
- Review Section Breaks:
- Enable the display of non-printable characters by clicking on the “¶” symbol in the “Paragraph” section of the “Home” tab.
- Examine the document for section breaks that might be causing the extra page.
- Delete any unnecessary section breaks by placing the cursor before the break and pressing the “Delete” key.
- Adjust Page Breaks:
- Enable the display of non-printable characters.
- Identify any manual page breaks (represented by a horizontal line) on the extra page.
- Delete the page break by placing the cursor before the break and pressing the “Delete” key.
Deleting a Page at the End of the Document
Deleting the last page of a Word document can be a common requirement. Here’s how you can achieve it:
- Review Content and Formatting:
- Ensure that there is no unwanted content or formatting on the last page.
- Delete any unnecessary content or adjust formatting to fit within the desired page limit.
- Remove Manual Page Breaks:
- Enable the display of non-printable characters.
- Check for manual page breaks at the end of the document.
- Delete any unnecessary manual page breaks.
Finalizing the Document
After deleting the desired pages, it’s crucial to review and finalize your document. Here are a few steps to consider

My name is Mark Stein and I am an author of technical articles at EasyTechh. I do the parsing, writing and publishing of articles on various IT topics.


+ There are no comments
Add yours